Introduction
Ray plugin is designed to optimize the user experience when deploying a ray cluster, it not only allows users to write less yaml, but also supports users to deploy a ray cluster.
How the Ray Plugin Works
The Ray Plugin will do three things:
- Configure the commands of head and worker nodes in a ray cluster.
- Open three ports used by ray head node. (GCS, Ray dashboard and Client server)
- Create a service mapped to the ray head node container ports. (ex, submit a ray job, Access a ray dashboard and client server)
Note - This plugin is based on the ray cli (Command Line Interface) and this guide use the official ray docker image. - svc plugin is necessary when you use the ray plugin.
Parameters of the Ray Plugin
Arguments
| ID | Name | Type | Default Value | Required | Description | Example |
|---|---|---|---|---|---|---|
| 1 | head | string | head | No | Name of Head Task in Volcano Job | –head=head |
| 2 | worker | string | worker | No | Name of Worker Task in Volcano Job | –worker=worker |
| 3 | headContainer | string | head | No | Name of Main Container in a head task | –headContainer=head |
| 4 | workerContainer | string | worker | No | Name of Main Container in a worker task | –workerContainer=worker |
| 5 | port | string | 6379 | No | The port to open for the GCS | –port=6379 |
| 6 | dashboardPort | string | 8265 | No | The port to open for the Ray dashboard | –dashboardPort=8265 |
| 7 | clientServerPort | string | 10001 | No | The port to open for the client server | –clientServerPort=10001 |
Examples
This guide is based on the instructions provided in the RayCluster Quick Start.
First, create a Ray cluster using the YAML manifest shown below. - For more details about Ray clusters, see the Ray Cluster Key Concepts documentation. - For more details about How to compose a ray cluster, see the Launching an On-Premise Cluster.
apiVersion: batch.volcano.sh/v1alpha1
kind: Job
metadata:
  name: ray-cluster-job
spec:
  minAvailable: 3
  schedulerName: volcano
  plugins:
    ray: []
    svc: []
  policies:
    - event: PodEvicted
      action: RestartJob
  queue: default
  tasks:
    - replicas: 1
      name: head
      template:
        spec:
          containers:
            - name: head
              image: rayproject/ray:latest-py311-cpu
              resources: {}
          restartPolicy: OnFailure
    - replicas: 2
      name: worker
      template:
        spec:
          containers:
            - name: worker
              image: rayproject/ray:latest-py311-cpu
              resources: {}
          restartPolicy: OnFailure
Once applied, a Ray cluster consisting of a head node and one or more worker nodes will be provisioned.
kubectl get pod
NAME                       READY   STATUS    RESTARTS   AGE
ray-cluster-job-head-0     1/1     Running   0          106s
ray-cluster-job-worker-0   1/1     Running   0          106s
ray-cluster-job-worker-1   1/1     Running   0          106s
Along with the cluster, a ray-cluster-job-head-svc Kubernetes service resource is also created.
(ray-cluster-job service is created by svc plugin.)
kubectl get service
NAME                       TYPE        CLUSTER-IP     EXTERNAL-IP   PORT(S)                       AGE
ray-cluster-job            ClusterIP   None           <none>        <none>                        3s
ray-cluster-job-head-svc   ClusterIP   10.96.184.65   <none>        6379/TCP,8265/TCP,10001/TCP   3s
Now that the service name is available, use port-forwarding to access the Ray Dashboard port which is 8265 by default.
# Execute this in a separate shell.
kubectl port-forward service/ray-cluster-job-head-svc 8265:8265 > /dev/null &
Now that the Dashboard port is accessible, submit jobs to the RayCluster:
# The following job's logs will show the Ray cluster's total resource capacity, including 2 CPUs.
ray job submit --address http://localhost:8265 -- python -c "import ray; ray.init(); print(ray.cluster_resources())"
Job submission server address: http://localhost:8265

-------------------------------------------------------
Job 'raysubmit_W8nYZjW4HEFG6Mqa' submitted successfully
-------------------------------------------------------

Next steps
  Query the logs of the job:
    ray job logs raysubmit_W8nYZjW4HEFG6Mqa
  Query the status of the job:
    ray job status raysubmit_W8nYZjW4HEFG6Mqa
  Request the job to be stopped:
    ray job stop raysubmit_W8nYZjW4HEFG6Mqa

Tailing logs until the job exits (disable with --no-wait):
2025-09-23 14:58:49,442	INFO job_manager.py:531 -- Runtime env is setting up.
2025-09-23 14:59:00,106	INFO worker.py:1630 -- Using address 10.244.2.42:6379 set in the environment variable RAY_ADDRESS
2025-09-23 14:59:00,144	INFO worker.py:1771 -- Connecting to existing Ray cluster at address: 10.244.2.42:6379...
2025-09-23 14:59:00,161	INFO worker.py:1942 -- Connected to Ray cluster. View the dashboard at http://10.244.2.42:8265
{'memory': 16277940225.0, 'node:10.244.4.41': 1.0, 'object_store_memory': 6976260095.0, 'CPU': 30.0, 'node:10.244.3.42': 1.0, 'node:10.244.2.42': 1.0, 'node:__internal_head__': 1.0}

------------------------------------------
Job 'raysubmit_W8nYZjW4HEFG6Mqa' succeeded
------------------------------------------
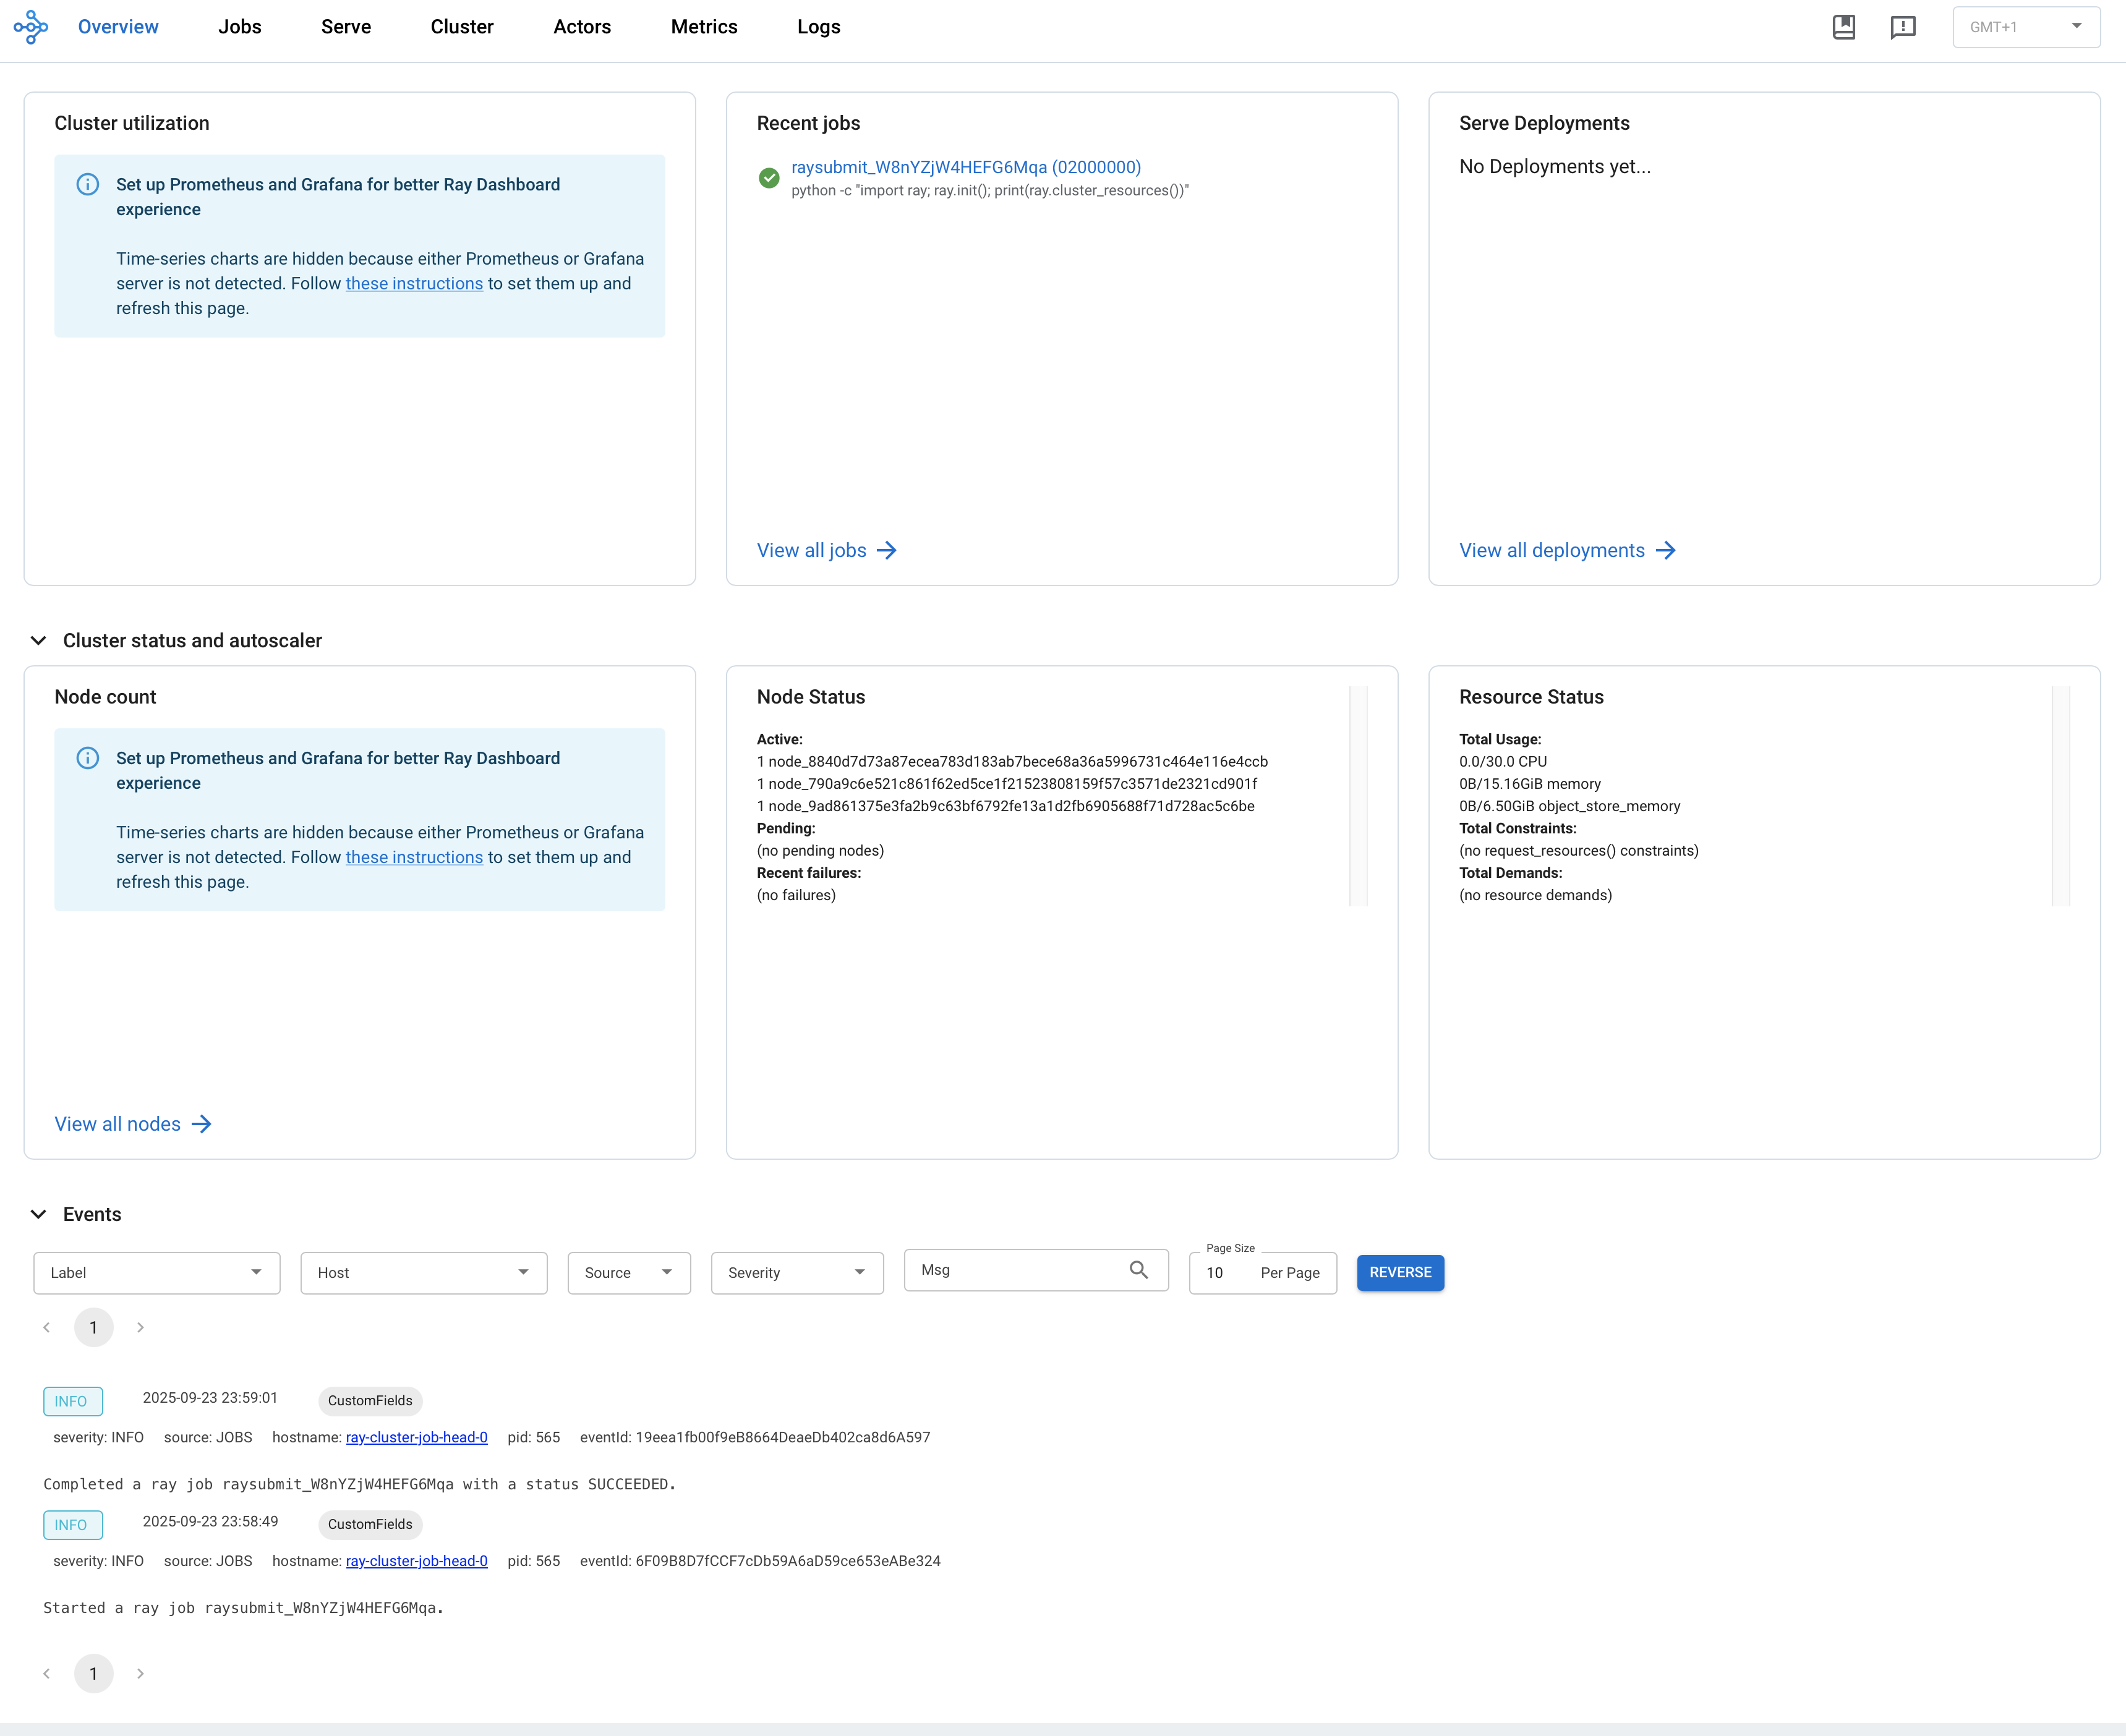
Visit ${YOUR_IP}:8265 in your browser for the Dashboard. For example, 127.0.0.1:8265. See the job you submitted the above in the Recent jobs pane as shown below.